Monday, June 16, 2014

Mala Love

Recently, a friend introduced me to the wonderful world of malas. We were out to lunch and I was immediately drawn in by this beautiful necklace she was wearing. She explained that it was a mala. At the time, I didn't know what a mala was but I was more than ready to find out.

Malas are used as a meditation necklace. They can be made from rudraksha seeds or gemstones.   Typically, a mala has 108 beads. Why 108 beads you ask? Well there are many reasons why 108 is an important number you can find the list here. The 109th bead is the Guru bead, when you reach this bead you are to stop and thank your teachers and those who have influenced your life. Malas that are given as presents can be powerful tool for meditation.

To use a mala, you start on either side of the Guru bead (which will be the big bead in the center). Holding the first bead between your thumb and middle finger, focus on your mantra (can be a Vedic hymm or a slogan for you to live by that day such as: strength, gratitude, integrity, etc.) or your breath (inhaling on one bead, exhaling on the other).

Malas are great for individuals who are just starting their meditation practice. The presence of the necklace draws back in a wandering mind. The Mayo Clinic has an article about the benefits of meditating. If you don't want to read the whole thing, I can recap it for you. Meditation helps you gain new perspective on stressful situations and build new skills to manage stress. Your self awareness is increased and you're able to focus on the present. Basically, meditation teaches mindfulness. There are SO MANY benefits to this.

Most malas are handmade. When purchasing, you want to stay away from any dyed products. I've begun making my own (that in and of itself is a great way to teach mindfulness... but that's a different article). Let me know if you have any questions!

Xx,
Alex

Tuesday, May 20, 2014

Raw: Green Juice For Beginners


So, Matt and I juice. A lot. I've decided to start sharing some recipes of 
our "go to juices". Honestly, it's only just now that we've started creating
 recipes; we usually just toss all the left over veggies/fruit of our fridge into the juicer.

We use a masticating juicer. This type of juicer allows for all of your greens
 to be properly juiced. It is also a slower process because it's pressing the
 juice out instead of using heat and a blade (as a centrifugal juicer will).

This is a great green juice. It makes 3 cups, enough for two.
Ingredients: 
- 1 1/2 C Kale
- 1 1/2 C Collard Greens 
- 1 C Spinach 
- 2 head Broccoli 
- 4 large Carrots 
- 1 small Granny Smith Apple
- 1 Orange- skin off
- 1 Grapefruit- skin off
- 1 lime- skin on


And juice!

Tips:
- With juicing you don't need to take out seeds, skin (unless it's oranges and grapefruit- 
you can leave them on but your juice will be very bitter), stems, etc.
- Juice leafy ingredients first and citrus last- the citrus pushes the greens through.
- Clean your juicer asap after.
- If you have a masticating juicer you can leave the juice in the fridge for about 
30 hours. We juice at night and then grab it for breakfast the next morning. 
If you have a centrifugal juicer, drink immediately.
- We use a strainer (provided with our juicer) to prevent excess foam and pulp.
- Don't know what to do with your pulp???? Try making veggie stalk, putting it in 
breads, or composting!

 Xx, 
Alex 

Wednesday, March 26, 2014

Golden Milk


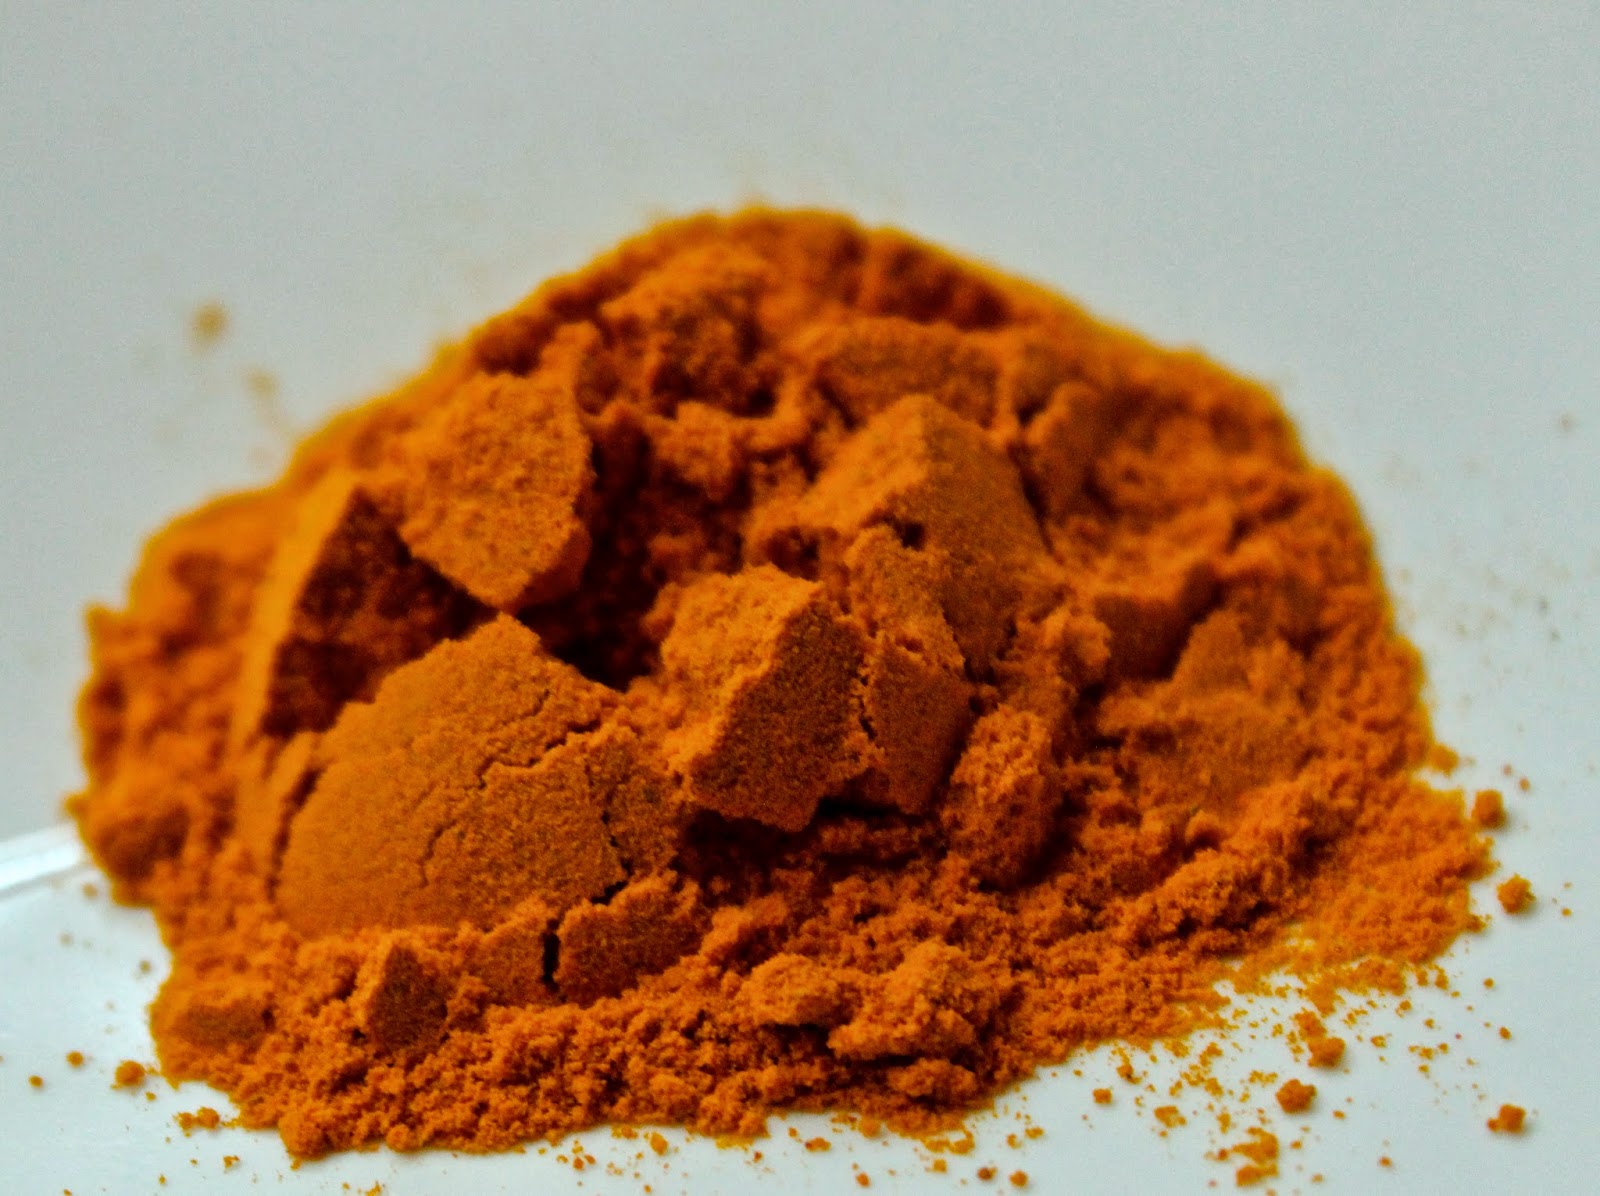
Why has it taken me so long to discover turmeric? I'm not sure, but I'm glad I've finally found it. If you haven't eaten turmeric (chances are you have and you don't know it. It provides the yellow tint in curry), or haven't heard of turmeric... you can do your homework here. This anti-inflammatory spice is basically the super root and your body will thank you for consuming it. 
You can put it in just about anything to get all the health benefits (stir fry, rice dishes, meat, juice, teas). Lately, I've enjoyed using it in a drink called Golden Milk. Golden Milk is an Ayurvedic drink that's a great for bedtime because it helps digestion and create a peaceful slumber (turmeric can also help with insomnia).  
Ingredients: 
- 1 Cup Milk (I use whole cow's milk, 
but you can substitute it for any type) 
- 1 Tsp. Turmeric
- 1/2 Tsp. Cinnamon 
- Honey to taste 
Directions
Bring the milk to a soft boil
Stir in turmeric and cinnamon 
Place honey in your teacup
Pour golden milk over honey
 
Enjoy!
Xx,
Alex 

Tuesday, March 4, 2014

Beeswax Candles


Whoa. Let's all be honest, this hasn't happened for a while. Well, I'm here to change that.
                                
We're quickly running out of our (Christmas present) candle supply. Matt and I have about two candles and/or an incense stick burning at all times. Incase you haven't noticed, it's been a little snowy in Missouri this year. ([(Snow+dogs= wet dogs)=smelly house]=candles are necessary).
                                
A while ago, I had bought some beeswax at the Tower Grove Farmer's Market (it's the best one to go to in STL- it's as local as possible). Beeswax comes in 1 pound bricks. You can also order beeswax on Amazon. There are all different shades of yellow, so pick the color you like the most because that will be the color of your candle. 
         
Ingredients: 
- 1 lb. beeswax
- 1/2 cup coconut oil
- 3 small Jars 
- Old sauce pan (don't use one that you cook food in, 
unless you enjoy beeswax in your food)
- Double boiler 
- Candle wick
- Pencil 
- Essential oil of choice

1. First, you'll need to use a double boiler to melt your wax.

2. When the wax is melted, add the 1/2 C. coconut oil. Beeswax can get very hot, so you'll need to use coconut oil to stabilize it. 

3. As you wait for the coconut oil to melt, place your one wick in each candle jar. Use a pencil to stabilize the wick and keep it up right. 

4. Next, pour a small amount of wax/oil into the bottom of each jar. Press the wick bottom into the hardening wax. 
                           
5. Once the wax is hardened, poor the remaining wax just shy of the lip of each jar, leaving about 1/2 inch of space. 

6. Pour a few drops of preferred essential oil into each jar. I used lavender (duh).  

7. Let the candle harden. Cleaning off any spill on the outside of the jar- you don't want it to melt onto your counter tops!


Enjoy! 
Xx, 
Alex 

Friday, November 22, 2013

Where to find me!

Teaching:
- Visit my studio class at Clayton Yoga Monday nights at 6:30.
- Click here to book a private class with me!

- It is first come first serve, please arrive 10 minutes early to ensure a spot.
- Wear comfortable clothing and bring a mat!
- Relax your mind, body and soul.

Biography:

As an avid runner, I found pleasure in allowing my mind to wander. To me, freedom came along with running. After an injury that required time to heal, I gravitated towards yoga. I began practicing yoga in 2009. But once injured, my passion for yoga grew. In 2013 I became a registered yoga instructor.
If you let it, yoga will provide more than just a physical outlet. It allows you to explore your mind and your breath as well. Uniting all three components of your body opens up a whole new journey in life. By practicing with me, I will help you create your own journey through yoga.
You can expect my class to challenge your body; and if you allow your breath to center your mind, it can be relaxing too. My Vinyasa class will flow through poses in a timely manor. Students should expect to receive direction in poses and options for more advanced poses. Beginners and experienced yogis welcome!
Yoga is a gift I intend to share with everyone. See you on the mat!

Monday, November 11, 2013

Lavender and seasame pillow

Winter is coming (sorry, I just couldn't resist). 


Like most young newlyweds, we're trying to save $$$. Sure, sure we do indulge on a few splurges. But day to day we try to stay cheap. This means eating at home (which, this is a perk of living together if you ask me... home cooked meals!), using Netflix instead of cable, and skimping on the A/C and heat! The last one is the biggest deal for me. As long as I'm bundled up, it's no big deal. But the worst thing on Earth is getting into a bed with freezing cold sheets. Well, maybe getting out of bed is actually the worst. But, you understand what I'm saying.  

Having my microwavable pillow has been an absolute life saver! You can buy these almost anywhere, but it really is sentimental if you make it yourself (or give a homemade one as a Christmas gift!!). 

Here's how to stay warm without your heat :) 

Ingredients: 
- 1/2 yard of material
- Sewing machine- unless you are dying to hand stitch it
- Scissors
- Sesame seeds- about 2 pounds
- Dried lavender buds- optional
- Pencil- creating your pattern
- Ruler 

First, cut your material. I created a pattern which consisted of 4 separate pieces. The pattern was about 1 foot long. It looked like this: <--->. I enjoy this pattern because it fits around my neck nicely. You can see measurements below: 


Next it's time to sew. This seems like an obvious point to make, but make sure the front of your material is facing inwards. (So you're sewing on the wrong side of the material.) Align your first piece with another and sew along the edge. Leaving about 1/8 of an inch raw. Once you've pieced together all four, you'll sew the remaining open edges together. However, you must leave a hole! 


Using the hole, turn the piece right side in. Next, using a funnel fill your pillow with sesame seeds and lavender buds. You're almost done! 


Finally, you'll need to either hand stitch the hole together or you can just use the sewing machine again. 

I decided I wanted to make a little pillow case with an old tea towel my mom had given me. Tea towels are great to use because they've been washed 1,000,000 times- so their dyes won't run at all. Plus they're super soft. 


Microwave instructions:
Simple place in microwave for 4 minutes. This will insure it stays warm for about 4 hours. Place under your bedding 10 minutes before you climb in... you won't regret it! 
Xx,
Alex


Monday, November 4, 2013

Apple Butter!

Apple of my eye

As you know, I've just recently found out how to properly use a mason jar. Did you know, they were created for an actual purpose? Not just for sipping whiskey and coke. I know, I know, I was shocked about that too.

I decided to utilize these mason jars by making apple butter! You cannot tell me that apple butter does not scream fall. Top it off with some warm, homemade bread and you'll be one happy camper.

With fall being in full bloom (too ironic?), the apples are among us. I challenge each and every one of you to utilize this season to do something with fresh apples! Pies, tarts, jams, juices- anything. Just stop passing them by or it'll be too late!

Ingredients:
- 6 quarts of diced apples: I mixed granny smith and fuji
- 2 3/4 cups sugar: If you decide not to use tart apples, don't use as much sugar
- 2 3/4 tsp. cinnamon
- 1/4 tsp ground cloves
- 1/8 tsp. salt

Start out by peeling and dicing all of the apples. This helps if you've got an awesome friend (or a reluctant husband) to help! This is by far the most labor intensive part of the recipe. After this is finished, it's cake.

Next, put apples in your largest cooking pot. Drizzle the spices and sugar over the apples. Cover and cook on high for about 4 to 5 hours. Stir occasionally with a whisk.

You'll know your apple butter is complete when it's dark in color and becomes thick. To jar your butter, click here.

Enjoy with ease! 
Xx,
Alex